How to Create a Screencast Like a Pro Infographic
Creating a screencast like a maven ain’t easy. For many beginners, efforts to make an ideal screencast more often than not end up in frustration and confusion. Here are some handy tips that would probably help you out.
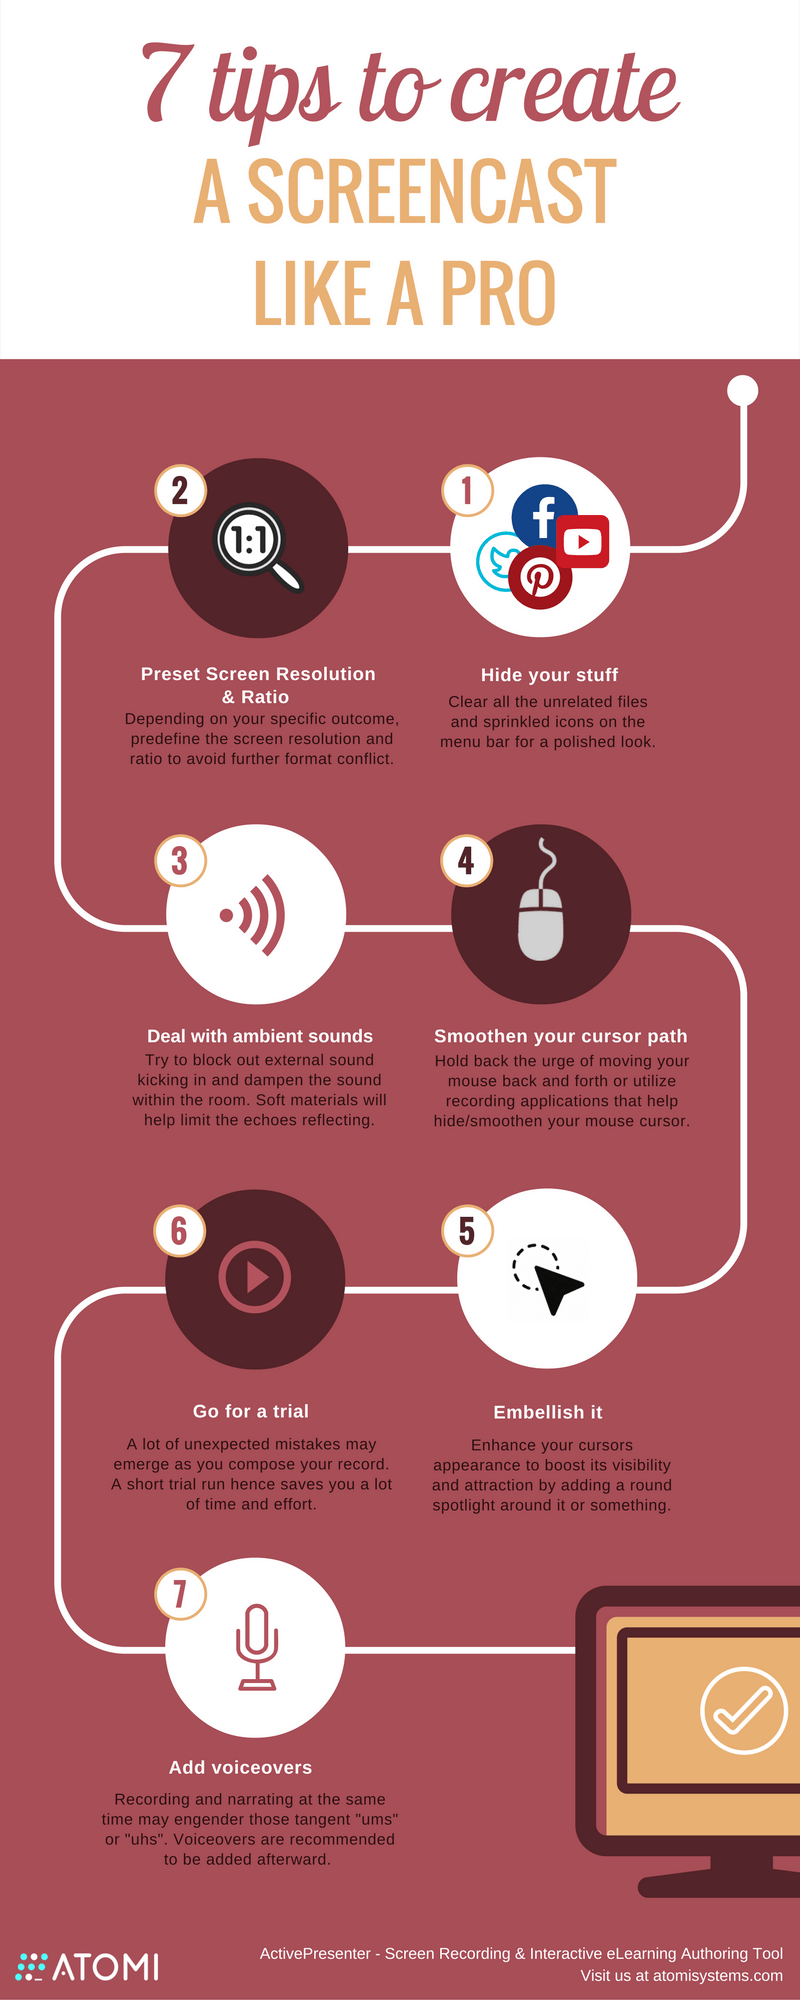
1. Hide your stuff
You may have seen so many full-screen screencasts with tons of uncorrelated icon or apps which keep on diverting audience's attention. A clean desktop, contradictorily, would give your work a touch of professionalism and neatness. Therefore, before you get the ball rolling, make sure all the files and sprinkled icons has got cleared up.
Or else, screencast recorders like Activerpresenter allow you to lock your screencast frame to the application only whilst hiding the rest of the screen like the menubar, folders, and files. "
2. Preset Screen Resolution & Ratio
Preset your screen resolution and the ratio would be a must. Depending on your specific outcome, it is better for you to predefine the related numbers. For example, if you want to export your screencast to Youtube to the mass audience, a ratio of 16:9 HD and a resolution of 1280x720 would be preferred.
3. Deal with ambient sounds
"Ambient noise never stops posing a challenge to instructors. The qualified sound-proof kits may help, but are proven extravagant and somewhat superfluous for the non-professional narrating artists. You can totally sound-proof your room DIY without much expense and effort.
Try blocking out external sound kicking in and dampen the sound within the room. In fact, soft materials will limit the echoes reflecting and make your voice sound more warming. Therefore, pull your curtains down when you record in your room. Another popular hack used is recording in a closet filled with clothes hung up or even in your car. And in case you can afford none of this, just wrap a blanket over your head.
The prerequisites, nonetheless, are always a good mic (not the built-in one), the recording space free from loud noise and speaker’s enunciation."
4. Smoothen your cursor path
"Many instructors do not recognize how annoying their abrasive mouse cursor maybe until they reach the result. The mouse being dragged all over the place can easily bother and irritate viewers.
So, if you are recording, hold back the urge of moving your mouse back and forth. Some recording tool like Activepresenter otherwise offers smart capture mode which optimizes your fluctuating mouse cursor into smooth and mild paths and gives your screencast a more polished look."
5. Embellish your cursor
In some cases, viewers may find your cursor hard to follow. A small tip here is to enhance your cursor's appearance to boost its visibility and attraction. With Activepresenter, you can add a round spotlight to your mouse under the Properties Pane in order to make it look more appealing and traceable. Other shapes such as square or triangle are also integrated.
6. Go for a trial
Lastly, always do a trial run. A lot of unexpected mistakes may emerge as you compose your record. A short trial run hence saves you a lot of time and effort in retaking your works over and over again.
7. Add voiceovers
"Most instructors like recording screen and narrating it simultaneously. However, if you do not want to sound like a novice with those tangent "umms", voiceovers is recommended to be added afterward.
Hence, you may want to try a raw screencast first. Then Active Presenter will facilitate users to record their voice to adjoin with their screencast with a single step. In this way, instructors would possess greater controls and initiatives over their works."
See also: 5 Step Preparation Before a Screencast Infographic


You can adjust your cookie preferences here.